You want garage shelving that will last. SafeRacks shelving can be used to store heavy items without them bending or warping. To increase storage space, you can also attach several shelves together. They are strong and durable.
You can also install them against a wall to increase safety. You can use lag bolts to do this. They are affordable and can hold 250 pounds. It can damage walls and move around if the shelf is not properly secured. Lag bolts can seep into concrete so anchor the shelf securely. You could risk the shelf being broken if you don't do it.
While wire shelving is a great solution for holding heavy items, you might want to consider using a liner or mat. This will protect and prevent the metal from corroding. You can also add caster wheels for portability. However, this may reduce the shelf's capacity.
Some shelves can be made adjustable to help you organize your garage. These shelves allow you to place items in the most convenient places, but be aware that they might not be designed to carry heavy loads. In addition, you might not have the right tools for assembling the unit. It is best to get help from a friend when you are assembling the shelf. Assist your friend in assembling the shelf.
Mounting the unit on your garage ceiling is another option. This is a quick and easy way to organize garage. However, it can also create a cluttered setup. It is important to inspect the shelving every month. Also, check for any cracks or damage to the screws. These can be repaired using epoxy or drilling new ones.
Wall-mounted shelving provides affordable storage solutions for your home. This kind of shelving can be hung on any wall and has the advantage of not taking up much floor space. It can store small parts, or even car parts. They are not recommended in industrial applications.
Another option is to mount the shelves on wooden studs. The studs should be about 18 or 24 inches apart. Use a template to mark the spots. After you've located the holes and drilled them, you can use a template to mark them. Once the studs are drilled, you can hammer them in with a screwdriver or a rubber mallet.
Leveling feet can be added to garage floors that are uneven. These feet will make sure that your shelves don't slip and stay level. Be careful not to mount the shelves too high. Your shelves could be too close to your floor if they are not.
CX shelving is an excellent choice for anyone looking for a cost-effective storage solution. These shelving units are made of recycled plastic and have adjustable feet that provide greater stability. For a sleek look, they come with snap-in fasteners.
FAQ
What should my cabinets look like?
It depends on whether your goal is to sell or rent out your house. You will need to take down and refinish your cabinets if you are selling. This gives buyers the illusion of brand-new cabinets and helps them visualize their kitchens after they have moved in.
But if your goal is to rent your house you will need to remove the cabinets. Tenants often complain about having to clean up dishes and fingerprints from previous tenants.
The cabinets can be painted to look fresher. Just remember to use a high-quality primer and paint. Low-quality paints are susceptible to fading over time.
What order should you renovate an existing house?
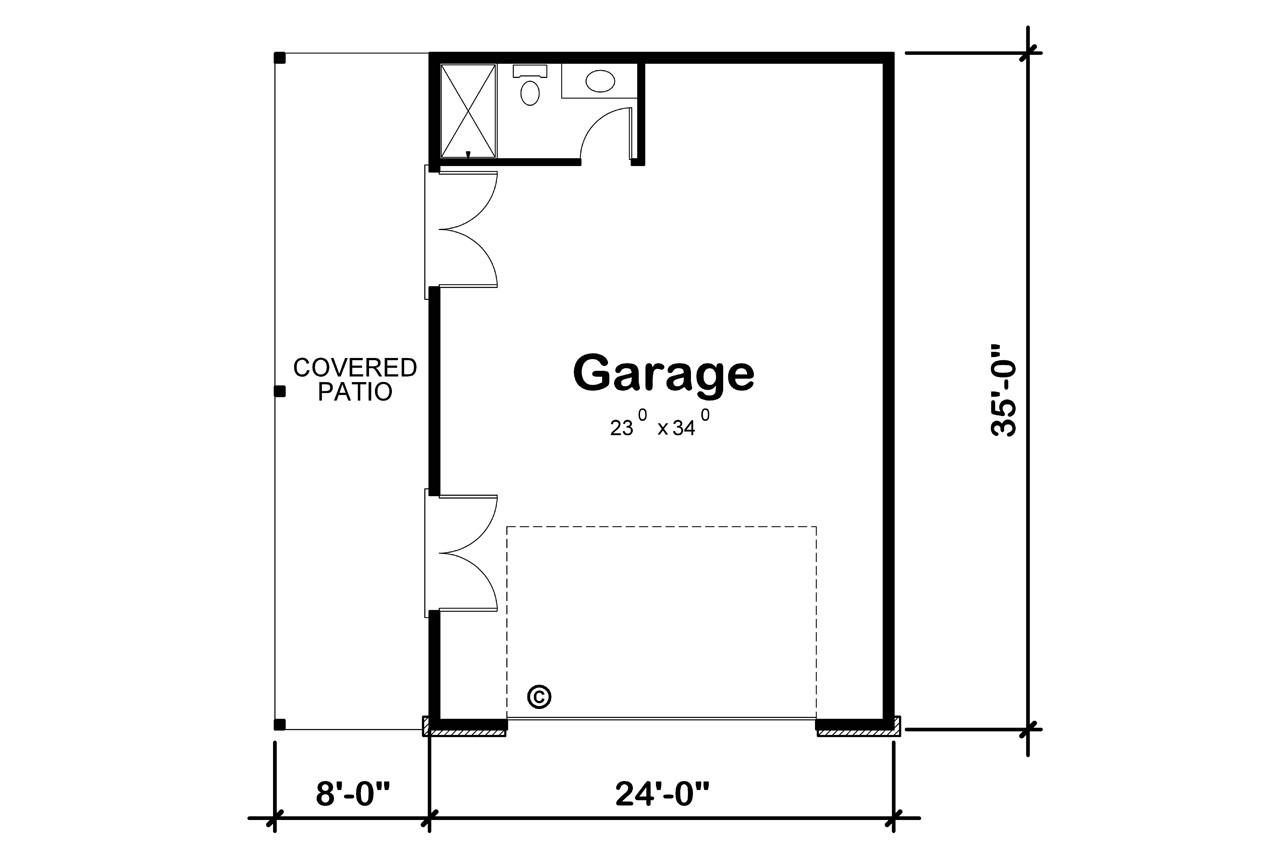
First, the roof. Second, the plumbing. The third is the electrical wiring. Fourth, the walls. Fifth, floors. Sixth, windows. Seventh are the doors. Eighth, the kitchen. Ninth are the bathrooms. Tenth is the garage.
After you have completed all of these tasks, you will be ready to go to the attic.
It is possible to hire someone who knows how to renovate your house. Renovations take time, patience, and effort. And it will take money too. It will take time and money.
Renovations are not always cheap but can save you lots of money in long-term. Plus, having a beautiful home makes life better.
What does it cost to tile a shower?
If you want to do it yourself, go big. It's an investment to remodel a full bathroom. But when considering the long-term value of having a beautiful space for years to come, it makes sense to invest in quality materials and fixtures.
You can make a big impact on how your room looks. This guide will help you select the right tiles for your project, no matter how small or large.
First, choose the flooring type you wish to use. You have many choices: ceramics, natural wood, stone, porcelain and even stone. Select a style, such as classic subway tiles or geometric patterns. Next, choose a color palette.
For large bathroom remodels, you will likely want the tiles to match the rest of your room. For example, you might opt for white subway tile in your kitchen or bath and choose darker colors elsewhere.
Next, calculate the project's size. Is it time to upgrade a small powder area? Or would you prefer to add an extra bedroom in your master suite with a walkin-in closet?
After you have determined the scope of work, visit local shops to see samples. This way, you can get a feel for the product and its installation techniques.
You can also shop online to find great deals on porcelain and ceramic tiles. Many retailers offer free shipping or discounts on bulk orders.
What are the biggest expenses in remodeling a kitchen?
There are several major costs involved in a kitchen remodel. These include demolition, design fees, permits, materials, contractors, etc. But when we look at these costs individually, they seem pretty small. However, when you add them together, they quickly become quite large.
Demolition is the most costly cost. This involves removing old cabinets, appliances and countertops as well as flooring. You will then need to remove the insulation and drywall. Then, it is time to replace the items with newer ones.
You will need to hire an architect for plans. To ensure your project is compliant with building codes, you will need to pay permits. Next, you will need to hire someone to actually build the project.
Once the job is complete, you will need to pay the contractor. It is possible to spend anywhere from $20,000 up to $50,000 depending on the size and complexity of the job. It is crucial to get estimates from several contractors before you hire one.
You can sometimes avoid these costs if you plan. You might get better deals on materials and even save some time. If you know what needs to be done, you should be able to save time and money during the process.
Many people will attempt to install their cabinets themselves. They believe this will save money, as they won’t have to hire professional installers. It is often more expensive to have professional installation services. A job can typically be done in half the time than it would take for you by professionals.
A cheaper way to save money is buying unfinished materials. You should wait until all of the pieces have been assembled before you buy pre-finished items like cabinets. You can use unfinished materials immediately if you buy them. You can always make a change if things don't go as you planned.
Sometimes, though, it doesn't make sense to go through all of this. Planning is the best way save money on home improvement projects.
What would it cost for a home to be gutted versus what it would cost to build one?
The process of gutting a house involves removing all contents inside the building. This includes walls, floors and ceilings, plumbing, electrical wiring and appliances. It is often done when you are moving to a new location and wish to make some improvements before you move in. Due to so many factors involved in the process of gutting a property, it can be very costly. Depending on what job you do, the average cost for gutting a house is $10,000 to $20,000
Building a home means that a builder constructs a house piece by piece, then adds windows, doors, cabinets and countertops to it. This is done usually after purchasing lots. Building a home can be cheaper than gutting. It usually costs around $15,000-$30,000.
It comes down to your needs and what you are looking to do with the space. If you want to gut a home, you'll probably need to spend more because you'll be starting over. It doesn't matter if you want a home built. You can design it yourself, rather than waiting for someone else.
How long does it usually take to remodel your bathroom?
A bathroom remodel typically takes around two weeks. However, this varies greatly depending on the size of the project. Smaller jobs, such as adding a shower stall or installing a vanity, can be completed in a day or two. Larger jobs like removing walls or installing tile floors and plumbing fixtures can take several hours.
A good rule of thumb is to allow three days per room. This means that if there are four bathrooms, you will need 12 days.
Statistics
- Windows 3 – 4% Patio or backyard 2 – 5% (rocketmortgage.com)
- About 33 percent of people report renovating their primary bedroom to increase livability and overall function. (rocketmortgage.com)
- 55%Universal average cost: $38,813Additional home value: $22,475Return on investment: 58%Mid-range average cost: $24,424Additional home value: $14,671Return on investment: (rocketmortgage.com)
- bathroom5%Siding3 – 5%Windows3 – 4%Patio or backyard2 – (rocketmortgage.com)
- 57%Low-end average cost: $26,214Additional home value: $18,927Return on investment: (rocketmortgage.com)
External Links
How To
How to Install Porch Flooring
While installing porch flooring is straightforward, it takes some planning. Before installing porch flooring, you should lay a concrete slab. But, if you don’t have the concrete slab available, you could lay a plywood board deck. This allows porch flooring to be installed without the need for a concrete slab.
Before installing porch flooring, you must secure the plywood as the subfloor. Measure the porch width and cut two pieces of wood to fit the porch. These should be placed on each side of the porch. Next, nail them down and attach them to your walls.
After attaching the subfloor to the surface, prepare the area where the porch flooring will be installed. This involves typically cutting the top layer from the floorboards to fit the area. Next, finish the porch flooring. A common finish for porch flooring is polyurethane. A stain can be applied to porch flooring. Staining is more straightforward than applying a coat of clear paint. After applying the final coat, you just need to sand down the stained areas.
These tasks are completed and you can install the porch flooring. Measure and mark the location for the porch flooring. Next, measure and mark the location of your porch flooring. Finally, set the porch flooring in place and fasten it using nails.
Porch stairs can be added to porch flooring to increase stability. Porch stairs are often made from hardwood. Some people prefer to put their porch stairs up before they install their porch flooring.
Once you have installed your porch flooring, it is time to complete the project. First, you must remove the porch flooring and replace it with a new one. Next, clean up all debris. Remember to take care of the dust and dirt around your home.